
Your headphones may sound great to you. But that doesn’t tell you how your microphone sounds to everyone else.
You might hear every word of a meeting while your colleagues hear keyboard clicks, distant speech, or a voice that fades in and out. For work calls, the important question isn’t just “Can I hear clearly?” It’s “Can the other person understand me without extra effort?”
Here’s a practical way to test your meeting microphone before your next important call.
1. Check Which Microphone Your Meeting App Is Using
Before judging sound quality, make sure your meeting app is using the microphone you intend to test.
A connected headset doesn’t always mean its microphone is selected. Your app could still be picking up sound from your laptop, webcam, or another connected device.
Open the audio settings in your meeting app and check the microphone input. If you switch between devices, check again before recording.
For a fair comparison, keep your speaking distance and input settings consistent. If your headset has a microphone boom, follow its positioning instructions and avoid placing it directly in the airflow from your mouth.
2. Record a Short Sample in a Quiet Room
Start with a simple baseline. Use a recording app or your meeting platform’s test-call feature, if available.
Read this passage in your normal meeting voice:
“Thanks for joining today. Let’s review the project timeline, confirm the next steps, and assign an owner to each task. Please send your feedback before Friday.”
Then add a few details that need to be understood precisely:
“The reference number is B-15. The meeting starts at 9:30. The name is Alex Chen.”
Listen back at a comfortable volume. Pay attention to clarity, not just loudness.
Can you understand every word? Are the starts and ends of words intact? Does your voice sound natural, or does it sound muffled, distorted, or unusually distant?
If possible, ask someone else to listen without showing them the script. Knowing what you said can make unclear audio easier to understand than it really is.
3. Repeat the Test With Realistic Background Noise
A quiet-room recording is useful, but it may not reflect your working environment.
Repeat the same passage with the kinds of noise you normally encounter. Try typing on your keyboard, running a fan, or having someone speak nearby.
Introduce one noise source at a time. That makes it easier to identify what causes trouble.
Listen for two things: how much background noise gets through, and whether your voice remains clear while that noise is present.
A microphone that removes background sound but also cuts off parts of your speech isn’t necessarily making the call easier to follow. The goal is understandable speech, not silence at any cost.
4. Test Through the Meeting App You Actually Use
A local recording helps you assess your microphone, but your colleagues hear audio after it has passed through your meeting app and internet connection.
Set up a short call with a colleague using your usual platform. Ask them to listen for missing words, changes in volume, background distractions, and any robotic or broken audio.
Have them repeat a name, number, or short instruction back to you. This is a more useful test than asking only, “Does it sound okay?”
If you make a recording of the call, get everyone’s permission first.
5. Compare Noise-Suppression Settings
If your meeting app offers noise suppression or microphone processing, compare the available settings rather than assuming the strongest option is best.
Use the same sentence and background noise for each test. Change only one setting at a time.
Some combinations of headset processing and app processing may make your voice sound less natural. If speech becomes choppy, try a different suppression setting and listen again.
You’re looking for the setting that preserves your words while reducing distractions.
6. Check Everyday Speaking and Movement
You probably don’t sit perfectly still or speak at the same volume throughout a meeting.
Try speaking softly, turning your head slightly, and looking down at your notes. If you use a laptop microphone, test from your normal seated position rather than leaning toward the screen.
Does your voice stay understandable? Does it become much quieter when you move?
If you use speakers instead of headphones, ask the other person whether they hear an echo of their own voice. A setup that sounds fine during a solo recording can behave differently during a live conversation.
7. Separate Microphone Problems From Connection Problems
Not every audio issue means you need a new headset.
If a local recording sounds clear but a live call sounds broken, compare your meeting-app settings, network connection, and device connection. If both sound poor, start with microphone selection, placement, and input level.
For wireless headsets, check the battery and test near your connected device. If a wired connection or compatible USB adapter is available, comparing it with your usual connection can help narrow down the problem.
Make one change, repeat the test, and note what improved. Changing several things at once makes it harder to identify the cause.
What to Look for in a Work Headset
If your current setup still struggles after these checks, use your test results to guide your next purchase.
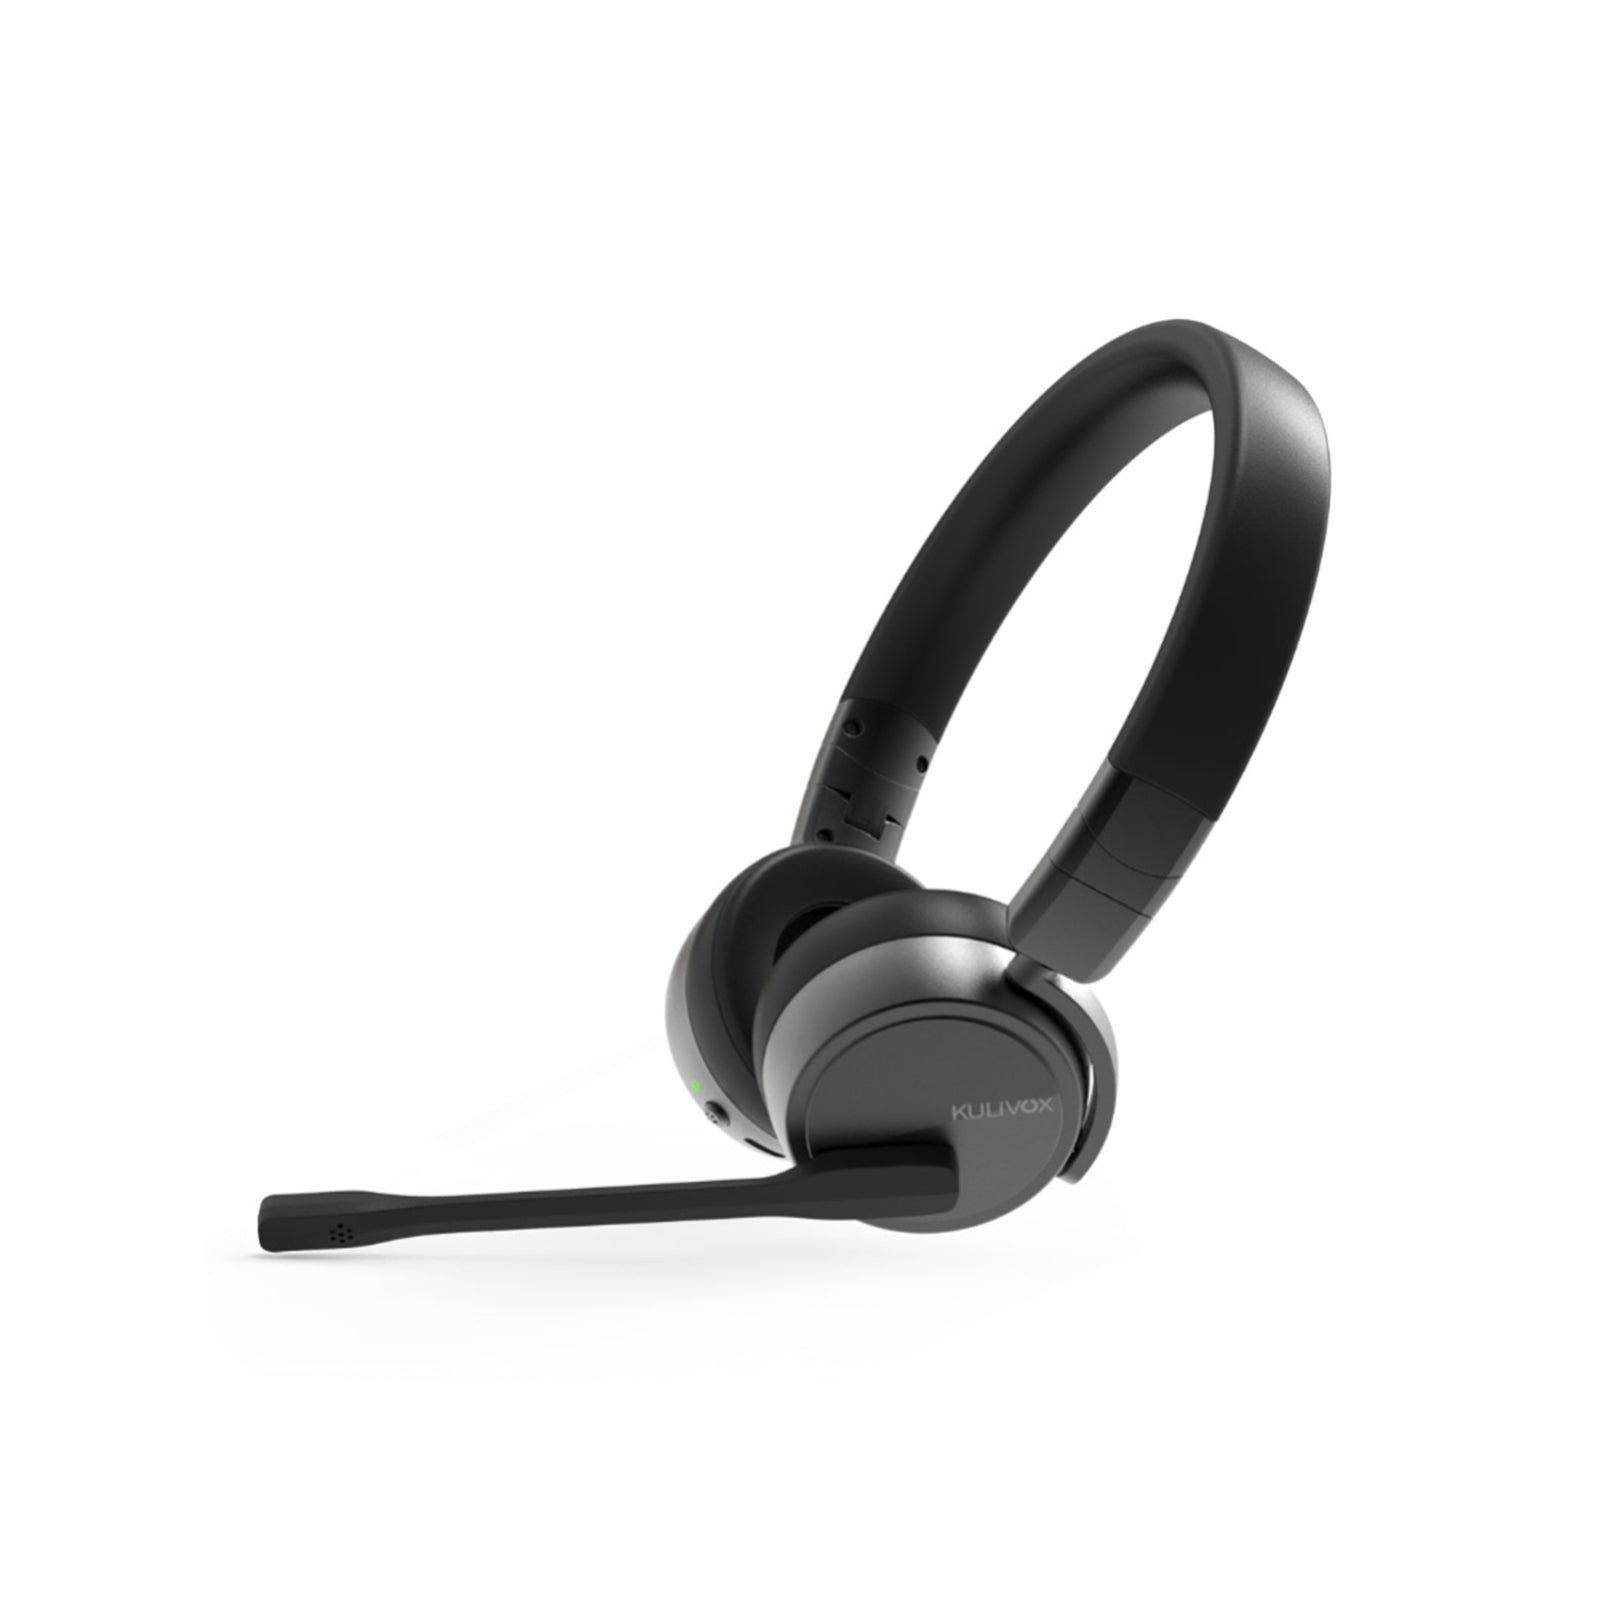
Prioritize microphone clarity in the environment where you actually work. Also consider comfort during long meetings, compatibility with your computer and meeting apps, connection reliability, and access to mute controls.
Remember that headphone noise cancellation and microphone noise reduction serve different purposes. Reducing what you hear doesn’t automatically reduce what the person on the other end hears.
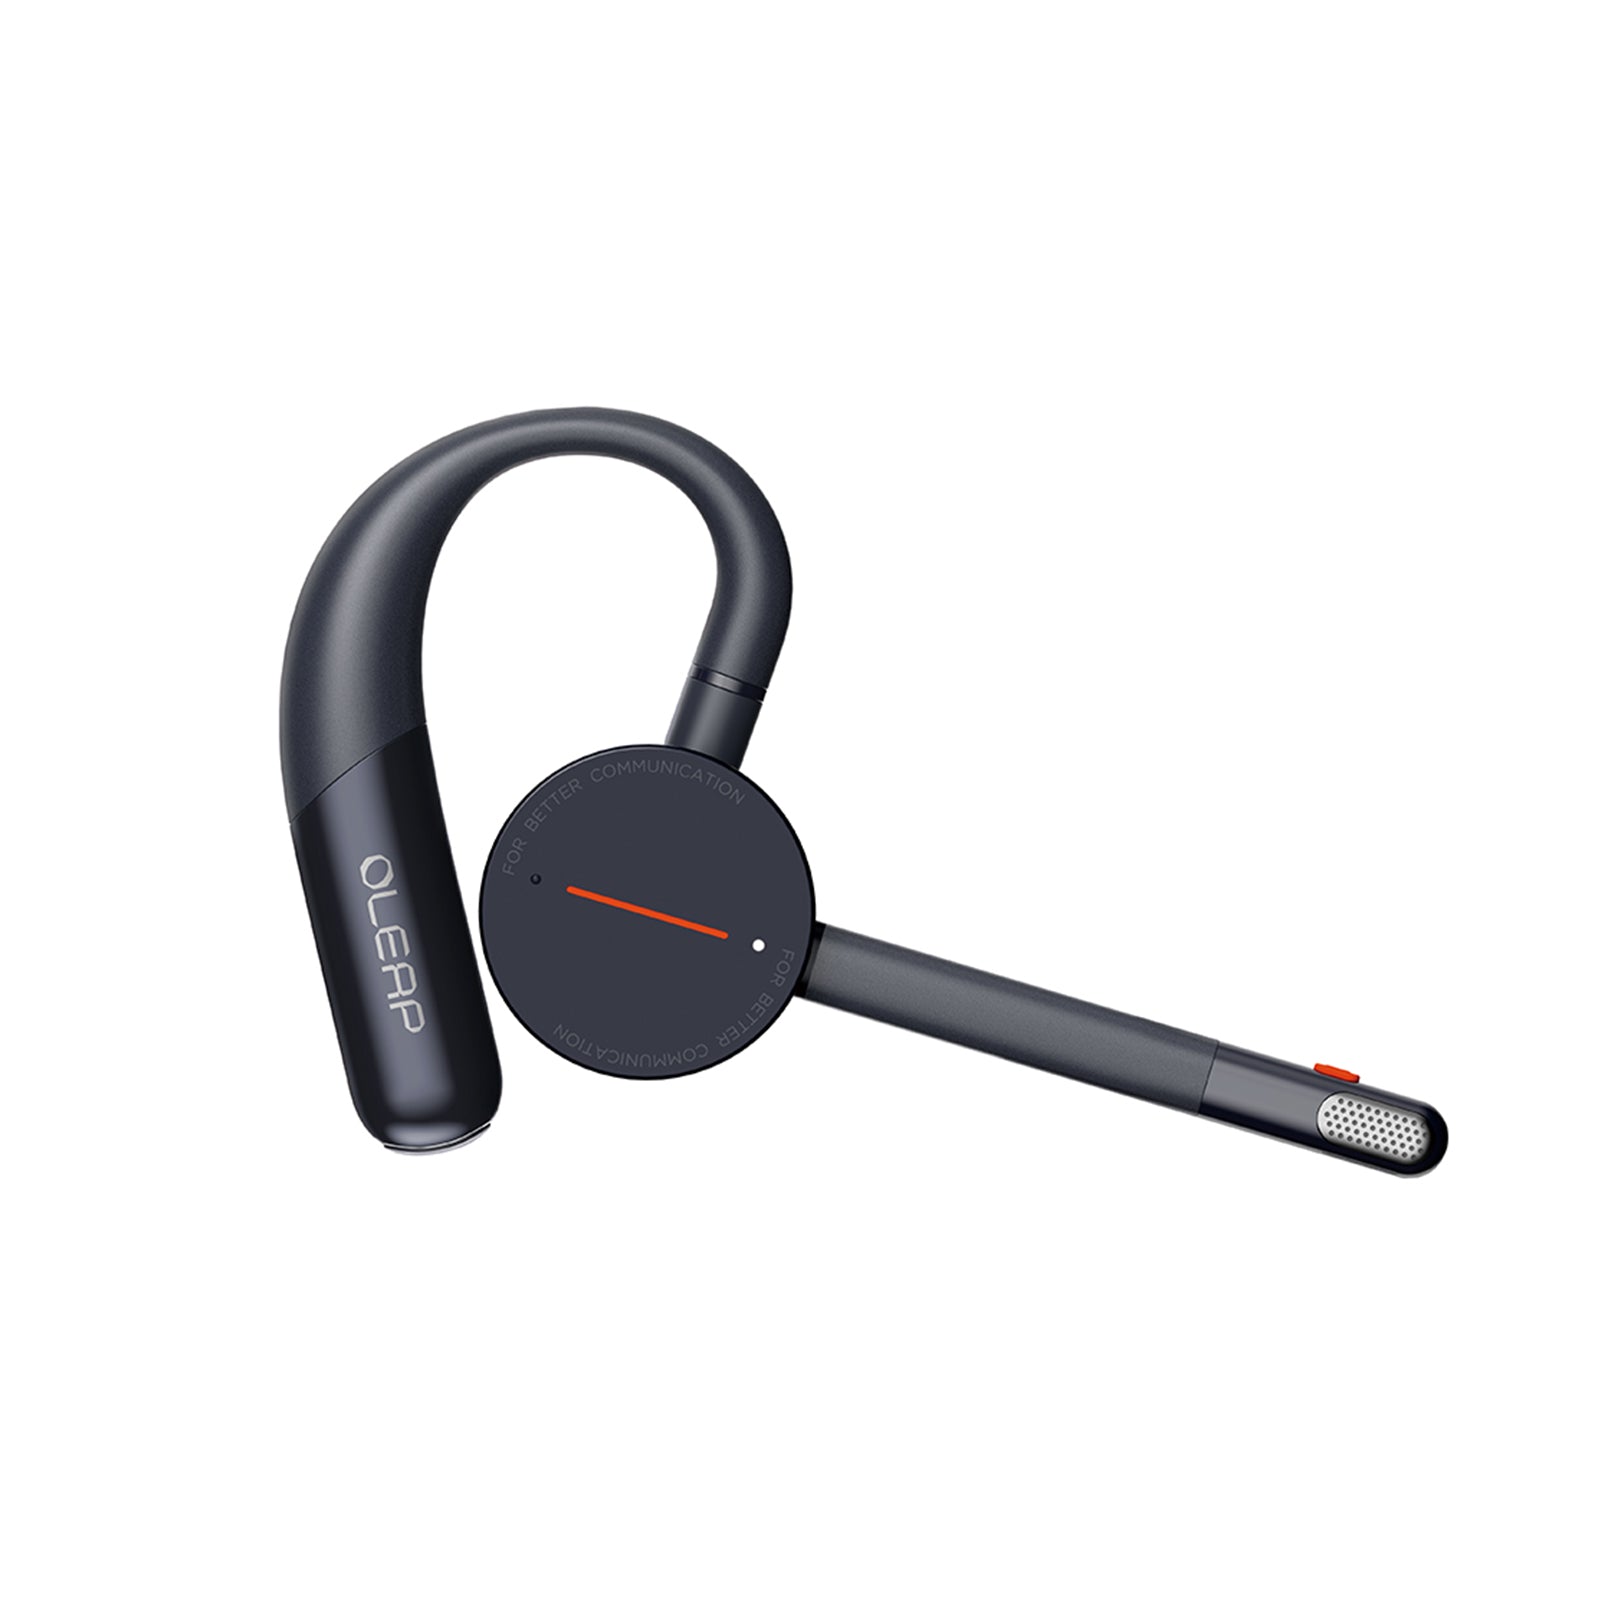
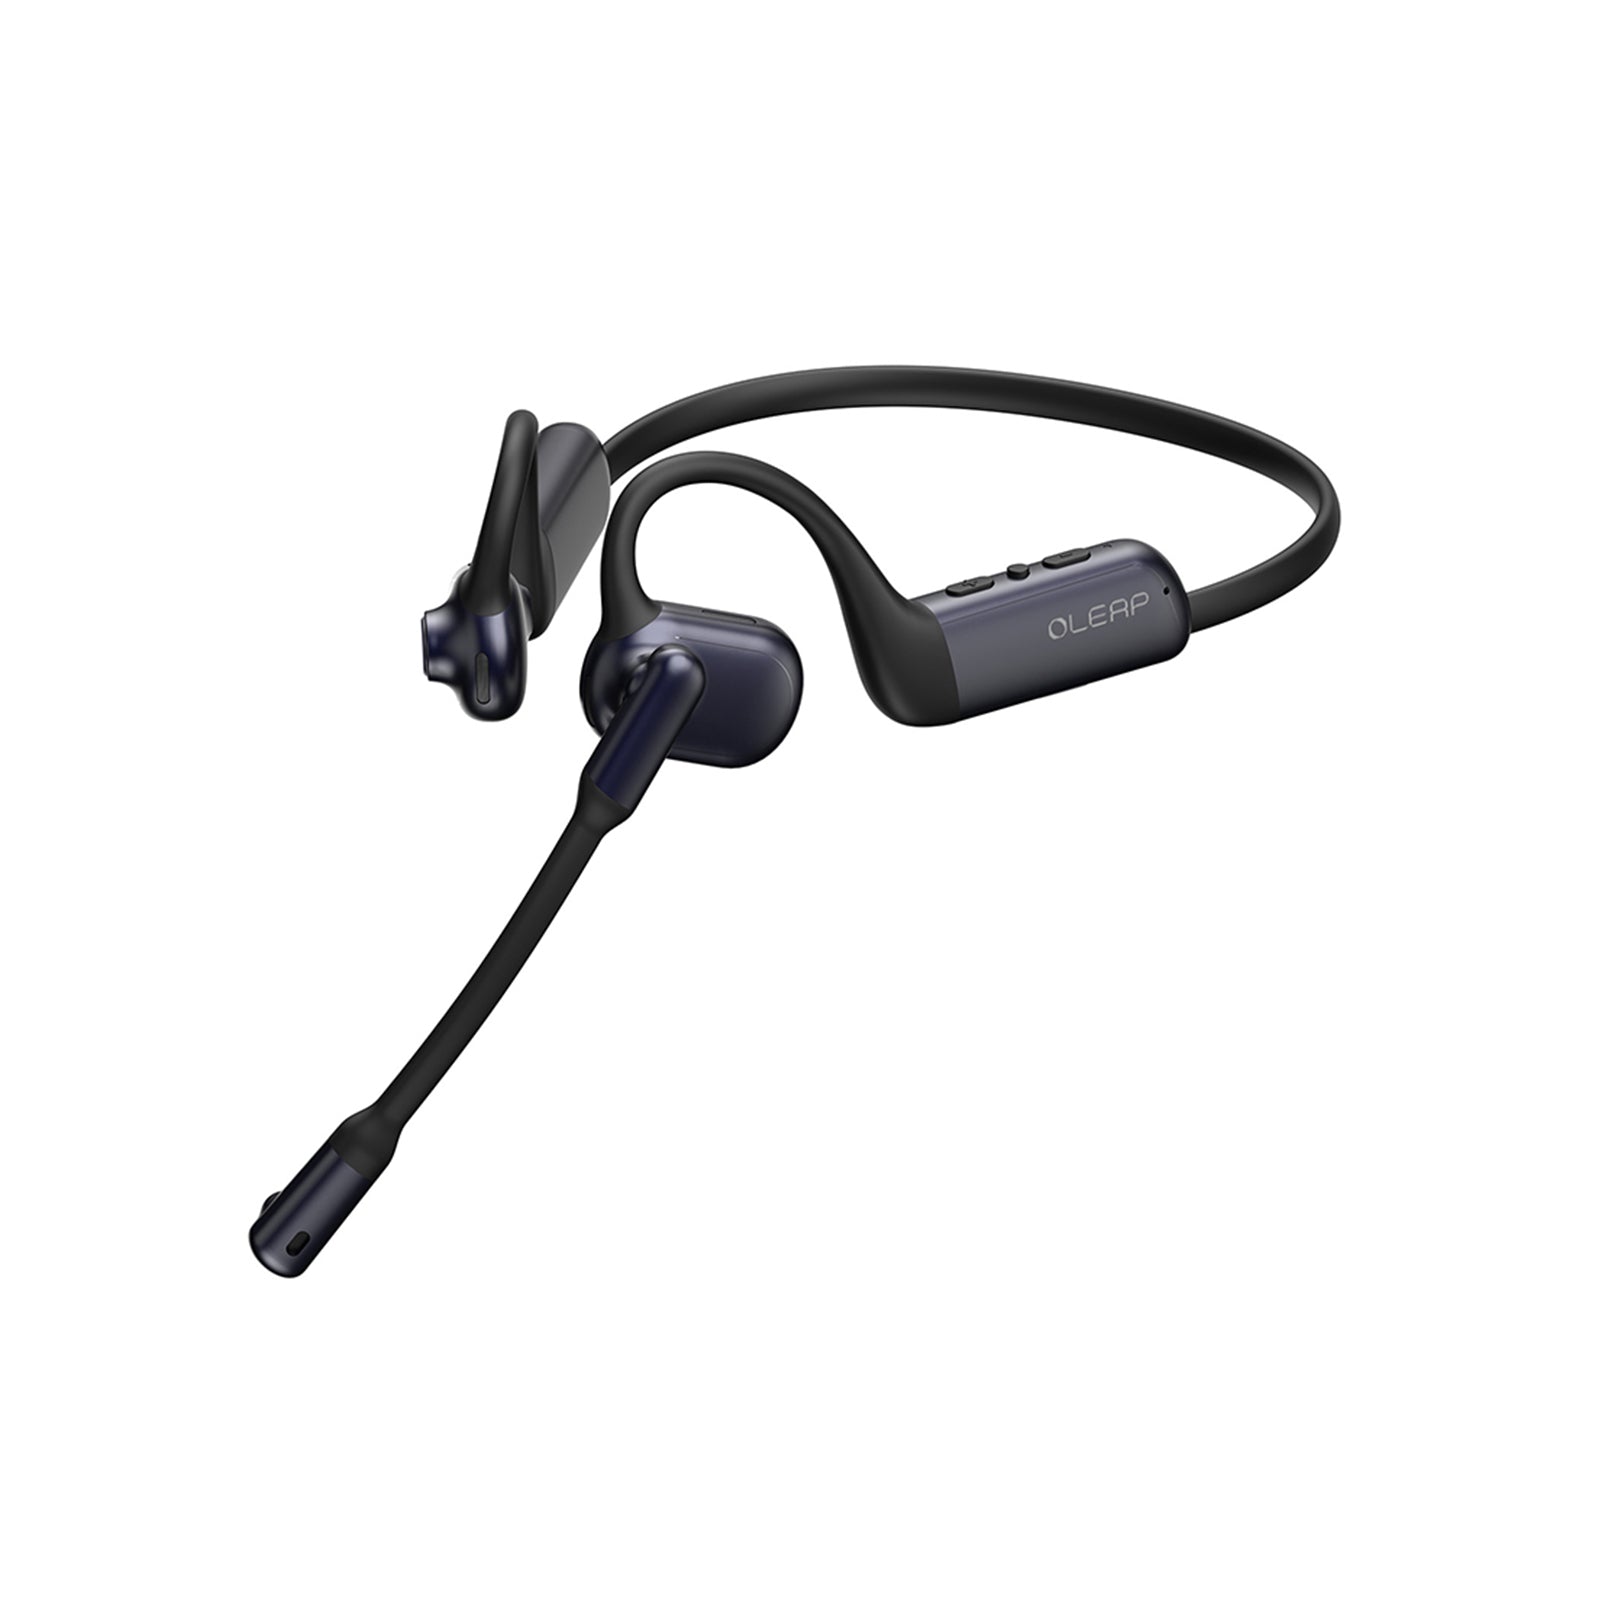
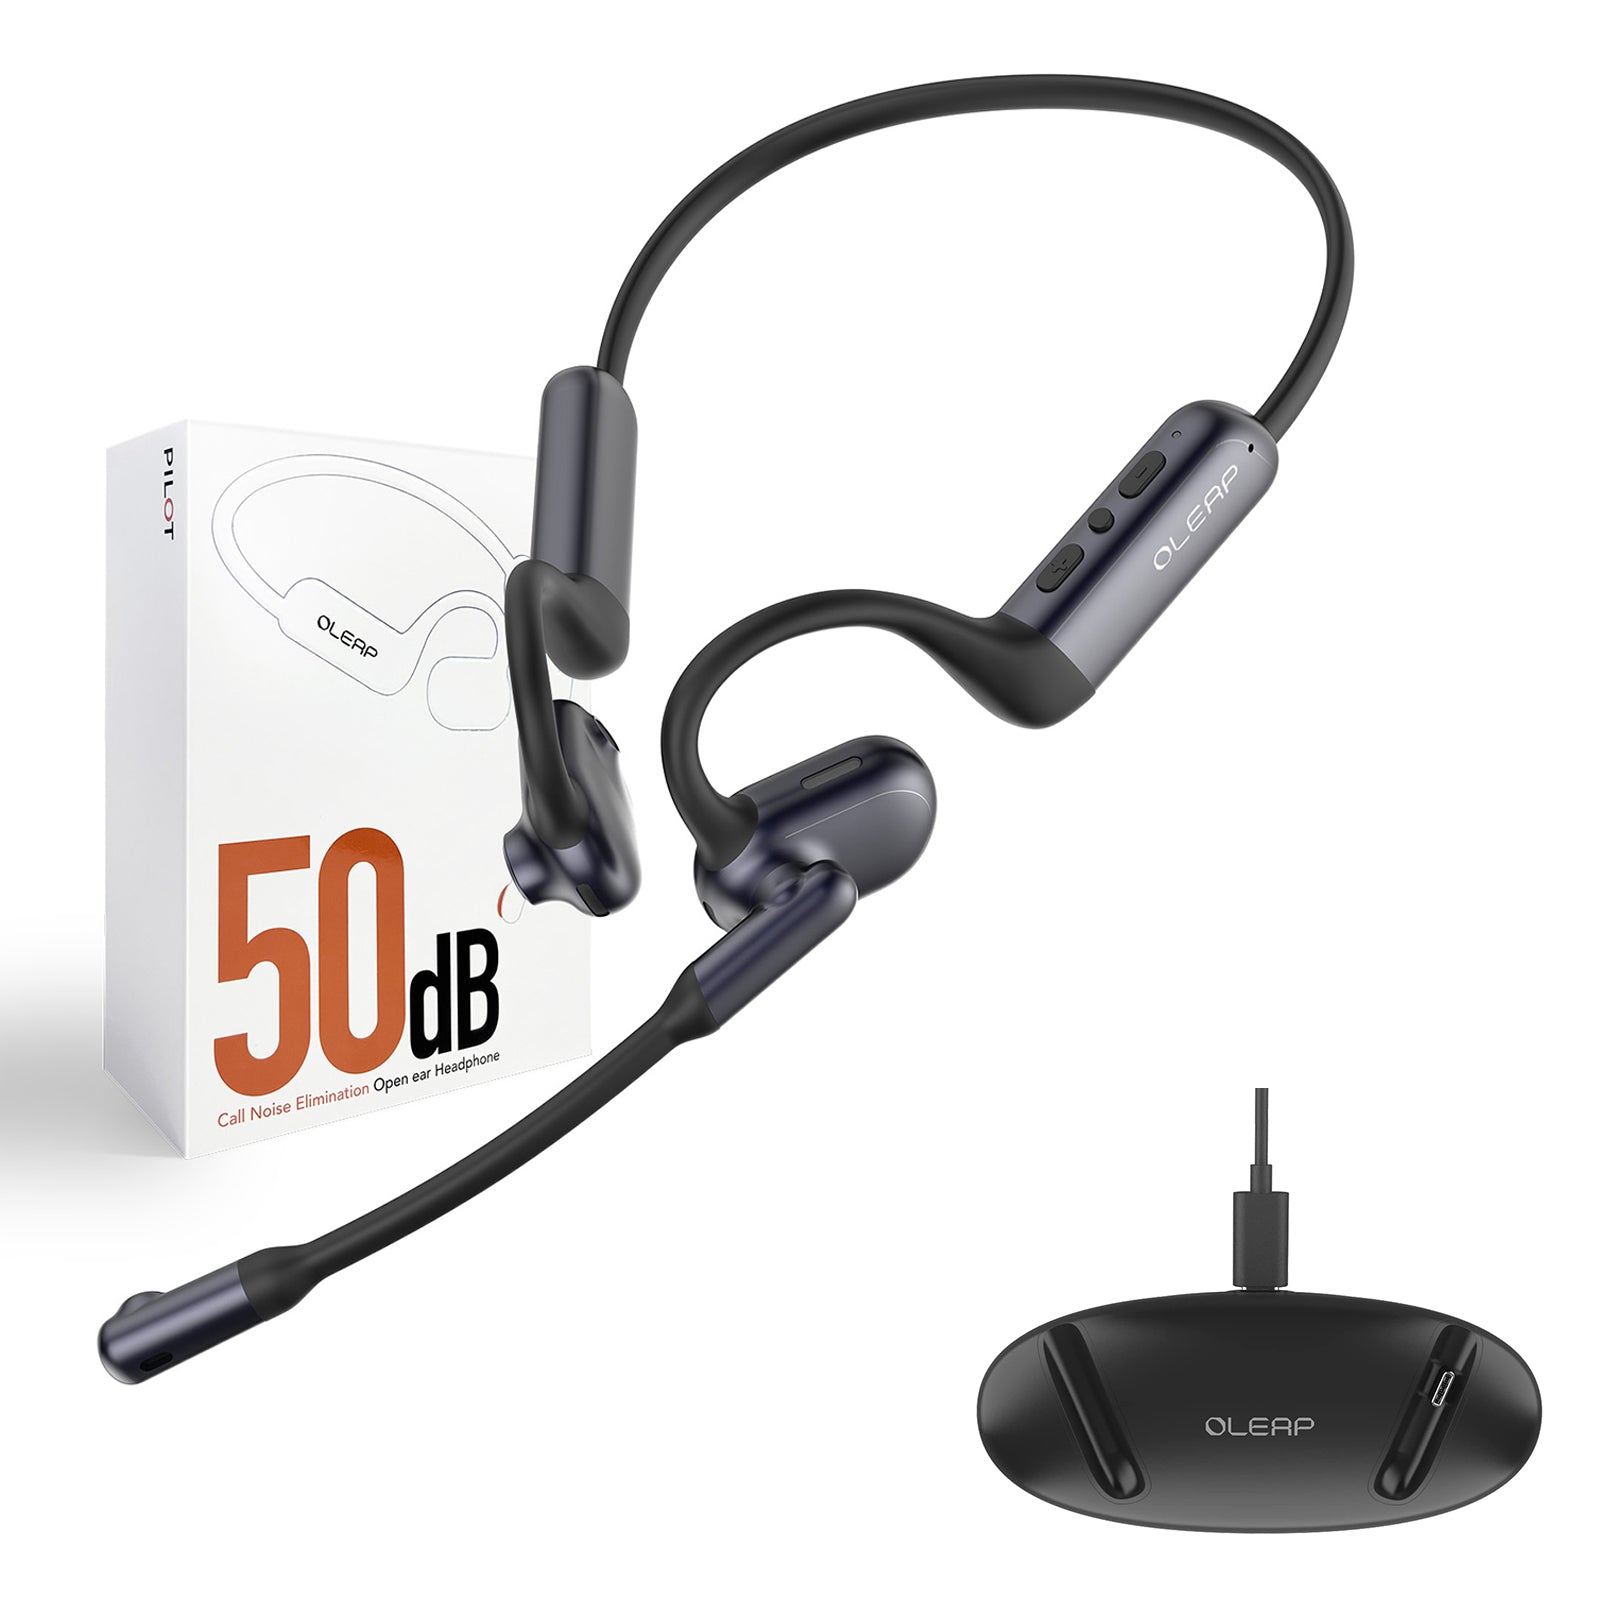
If you’re considering an Oleap headset, review the specific model’s microphone features and device compatibility against the needs your test revealed. A headset should fit your workflow, not just look impressive on a specification sheet.
A Clearer Call Starts With a Simple Test
Before your next important meeting, confirm your microphone input, record a short sample, and make a quick test call in your normal working environment.
Ask someone to listen for clarity, not just volume.
The best result isn’t simply a quieter recording. It’s a conversation where the other person can follow your words without asking you to repeat them.